.png.d6808db8b7eef55f57512b09ceea865b.png.5515cb4d8bffb4ffbbd27886f578c95b.png)
.png.a9f77afb0653176492a7ec78168c7ae0.png)
-
Posts
653 -
Joined
-
Days Won
3
Content Type
Profiles
Warranty Claims
Downloads
Forums
Store
Services
Downloads Plus Support
DOWNLOADS EXTRA
Everything posted by fullwiped
-
Hello, there’s a critical issue in your latest 1.6.0 update that prevents Carbon servers from starting after a wipe. The servers failed to launch. When I reverted Gather Loot Multiplier to version 1.5.5, everything worked fine. I’d appreciate it if you could take a look at this. NullReferenceException: Object reference not set to an instance of an object at Oxide.Plugins.GatherLootMultiplier.ModifySpawnedEntity (BaseEntity entity) at (wrapper dynamic-method) MonoMod.Utils.DynamicMethodDefinition.SpawnGroup.Spawn_Patch0 (SpawnGroup,int) at SpawnGroup.Spawn () at SpawnGroup.SpawnInitial () at SpawnHandler.InitialSpawn () at ServerMgr.Initialize (System.Boolean loadSave, System.String saveFile, System.Boolean allowOutOfDateSaves, System.Boolean skipInitialSpawn) at Bootstrap+<StartServer>d__22.MoveNext () at UnityEngine.SetupCoroutine.InvokeMoveNext (System.Collections.IEnumerator enumerator, System.IntPtr returnValueAddress) (Filename: /home/.../carbon/plugins/GatherLootMultiplier.cs Line: 99)
-
Changed Status from Pending to Closed Changed Fixed In to 3.0.1
-
 Hi, Is this plugin still up to date and working? Last updated on July 16, 2023.
 -
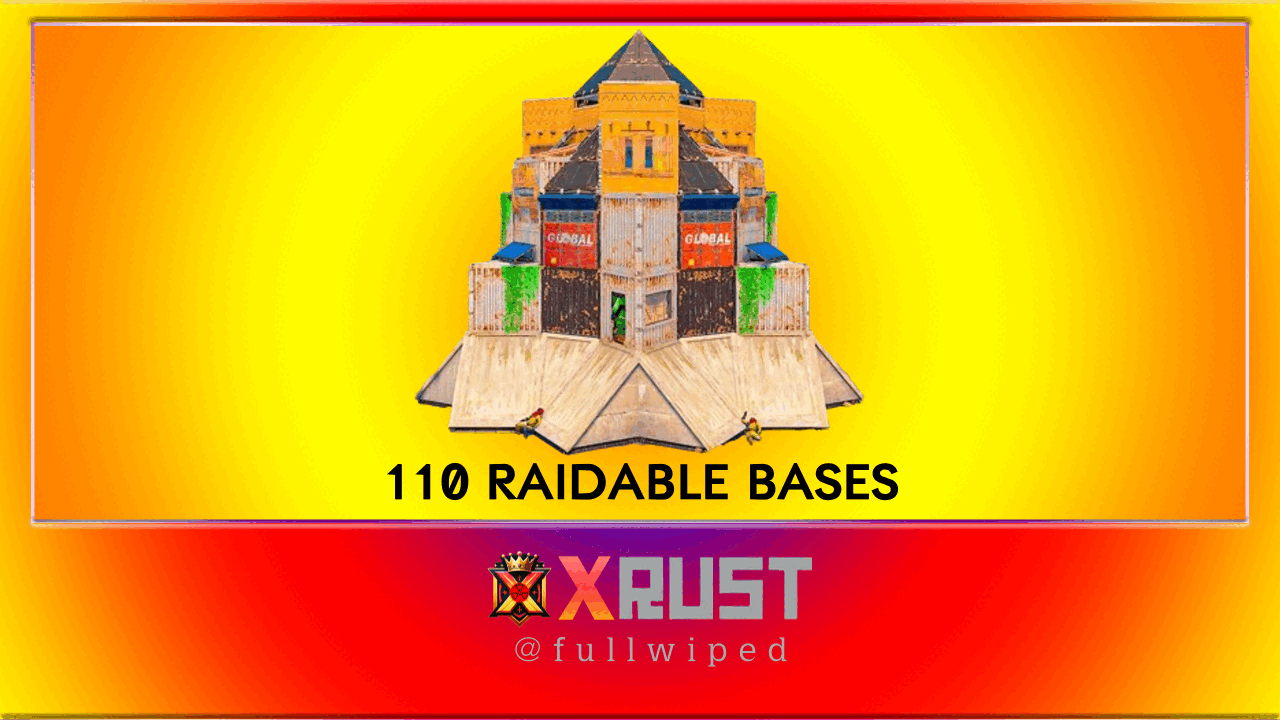
I’m glad the issue was resolved! To help us serve great server owners like you even better, you can leave a short review using the link below if you’d like. https://codefling.com/bases/raidable-bases-pack-loot-tables-easy-to-nightmare-110-bases?tab=reviews Have a great day and good luck!
-
Hi, if you’re editing your configs using Notepad, it can be quite time-consuming. If that’s the case, the editor below will help you a lot: https://codefling.com/tools/raidable-bases-loot-table-editor You can load a default loot table there, check the stack values, and then compare them with the ones in our config to adjust them accordingly.
-
 Hi, @Adem I saw a crate spawning about 100–150 meters above the Stone Quarry. It looks like a very small bug, but it might be useful for you in future updates.
 -
.thumb.gif.ed546a8791f9ba4abc40b332f43af755.gif) Hello is your map compatible with Dynamic Monuments, Caravan and Raidable Bases?
Hello is your map compatible with Dynamic Monuments, Caravan and Raidable Bases? -
Hello, I’ve been using the Solo Enforcement plugin for months, but players quickly learn how its detection system works and usually find ways to bypass it within a day or two. As a result, solo limit violations have increased, and we’ve received many complaints from players who are negatively affected by this. Even with the automatic ban feature enabled, I believe the current control mechanism is not always sufficient. Would you consider adding additional detectors such as shared vehicle usage, proximity checks, PvP interaction logs, or joint raid detection? I believe these improvements could make Solo Enforcement much more effective at identifying solo limit violations. Of course, it is completely up to you, this is just a suggestion. Thank you.
-
Changed Status from Pending to Not a Bug Changed Fixed In to 4.0.4
-
You can make edits here. https://editor.looty.cc/betterloot-v4
-
Changed Status from Work in Progress to Fixed
-
I’ve reviewed these BP fragments, and I’ll try to add them during the day.
-
Changed Status from Pending to Work in Progress Changed Fixed In to Next Version
-
I’ll take a look at this when I’m available.
-
 /home/rustserver/serverfiles/carbon/configs Open the RaidableBases.json file with Notepad. Press CTRL+F and search for "steam," then add your own steam64id as shown below. "Chat Steam64ID": 76561142564392767,
 -
.thumb.png.5493908087e3da6457421ab30f541dac.png) Hello, the config already works with Economics RP as it is.
Hello, the config already works with Economics RP as it is. -
 Does this plugin work with ClansReborn?
 -
 I use Team Tracker on our servers with different team limits ranging from Solo to Quad, and the Discord logs are especially impressive. Whispers88 has truly created an excellent plugin. I wasn’t entirely sure if the plugin actually warns players when a warning is issued, as I couldn’t confirm that in my tests. I also prefer to keep the auto-ban feature disabled since I wouldn’t want anyone to get banned by mistake, and I feel that part could be refined further. Overall, though, I find this plugin extremely successful, and I hope it will continue to stay updated and improve over time. With love and respect.
 -
Hello, instead of manually adding bases, please place the ready-made files from the profiles folder in the zip into the directory below and try again. Then start the plugin. Also, please make sure you have configured the main config correctly so that bases can spawn. /serverfiles/carbon/data/RaidableBases/Profiles In addition to the above, please also make sure you have downloaded the latest version of Copy Paste. https://umod.org/plugins/copy-paste
-
I’m looking for a plugin like this as well. Does this one still work, or have you found an alternative plugin?
-
Hello, how can I protect plants in planters from being harvested by other players? For example, I installed Loot Defender in addition to the SimplePVE plugin to protect loot such as Bradley, heli, etc. Do you have any suggestions? https://umod.org/plugins/loot-defender
-
 Hello, after the force wipe it seems like the logs on Discord keep saying #bone. Is this a bug?
 -
 Hello, you can add Large Backpacks to any crates you want using the editor below: https://chaoscode.io/resources/alphaloot-profile-editor.183/ Also guide video may be useful to you:
.thumb.png.fd415e6a279abcb86097c1d6ea9f77b2.png)