-
Posts
491 -
Joined
-
Last visited
About DeutscherRitterPlatz
- Currently Viewing Category: Plugins
- Birthday 11/29/1994
Recent Profile Visitors
13,876 profile views
DeutscherRitterPlatz's Achievements
-
DeutscherRitterPlatz started following Calling airstrike with binoculars
-
Do you mean something like a plugin?
- 1 reply
-
- 1
-

-
Version 1.0.0
1 download
Steam Group Whitelist – Your Exclusive Access Pass! Want a server where only the crème de la crème of your Steam group can play? With the Steam Group Whitelist, we separate the wheat from the chaff! This plugin ensures that only members of your Steam group can access your Rust server. No group membership? Then it’s “Sorry, no entry!” Players are filtered the moment they join – only those who belong get in. What else can the plugin do? • Direkt Join Check: No group membership? No access! The server is immediately off-limits to non-members. • Easy Setup: Install it once, configure it, and let it run! No hassle, just exclusive access for your group. • SteamID Whitelisting via Chat & Console Commands • Bypass Permission for VIPs and Supporters: • Customizable Messages: • Console & Chat Notifications: Easily toggle notifications on or off! Where can I find the Steam group profile URL? • The profile URL isn't your Steam group's URL, but rather a tag for the URL. • You can find this under "Edit Group Profile" -> "Profile URL" (see image). • Then, add this tag under "SteamGroupPROFILURL." What permissions are available? • There is the steamgroupwhitelist.bypass permission. Players with this permission can join the server even if they are not members of the designated Steam group. Important: The player must have been online at least once, or belong to a user group with this permission, for the bypass function to be effective. Assigning Permissions to Players & Groups • Oxide: oxide.grant user SteamID steamgroupwhitelist.bypass oxide.grant group groupname steamgroupwhitelist.bypass • Carbon: c.grant user SteamID steamgroupwhitelist.bypass c.grant group groupname steamgroupwhitelist.bypass What commands are available? • Checks the specified Steam group and adds or removes the permission or group accordingly. | Chat-Command • asw steamid = Adds a player to the SteamID Whitelist • ras steamid = Removes a player from the SteamID Whitelist • checkwhitelist = Manually verifies the player list and kicks anyone who lacks the necessary permissions or group membership. /asw 76561198116400000 = chat asw 76561198116400000 = console /ras 76561198116400000 = chat ras 76561198116400000 = console /checkwhitelist = chat checkwhitelist = console What's enabled by default in the configuration? • EnableChatNotifications • EnableSteamIDWhitelist SteamGroupWhitelist Configuration • true = active | false = disabled { "SteamGroupPROFILURL": "YourSteamGroupProfileURL", "EnableConsoleNotifications": false, "EnableChatNotifications": true, "EnableSteamIDWhitelist": true, "SteamIDWhitelist": [], "ChatPrefix": "<size=12><color=#AE3624>YOURSERVERNAME</color> <size=16>|</size> <color=#738D45>[SteamGroupWhitelist]</color>\n" } What do the individual configuration settings mean? • ChatPrefix: Sets the chat prefix displayed before each message. • EnableConsoleNotifications: Enables or disables the function for console notifications. • EnableChatNotifications: Enables or disables the function for Chat notifications. • SteamGroupPROFILURL: Here, the profile URL is entered, as explained above, the most important setting in the entire configuration. • EnableSteamIDWhitelist: Enables or disables the SteamIDWhitelist function • SteamIDWhitelist: Here, you can enter the SteamIDs of the players who should be excluded from verification and always have access to the server. SteamGroupWhitelist FAQ • If the Steam website is unreachable, the plugin will function like a standard whitelist: • Anyone who is not on the whitelist or does not have permission will be denied access. SteamGroupWhitelist Lang • Certainly, you are free to adjust the notification settings according to your preferences. Furthermore, you are not obliged to use {0} if you don't wish to! • English { "NotInGroup": "You are not a member of the required Steam group!", "NoPermission": "You do not have permission to use this command; you must be an administrator on the server!", "PlayerAddedToWhitelist": "Steam ID <color=#AE3624>{0}</color> has been added to the whitelist.", "PlayerRemovedFromWhitelist": "Steam ID <color=#AE3624>{0}</color> has been removed from the whitelist.", "PlayerAlreadyWhitelisted": "Steam ID <color=#AE3624>{0}</color> is already on the whitelist.", "PlayerNotWhitelisted": "Steam ID <color=#AE3624>{0}</color> is not on the whitelist.", "CheckStarted": "Player verification has started.", "UsageAddToWhitelist": "Usage: /asw <steamid>", "UsageRemoveFromWhitelist": "Usage: /rsw <steamid>" } • deutsch { "NotInGroup": "Du bist kein Mitglied der erforderlichen Steam-Gruppe!", "NoPermission": "Du hast keine Berechtigung, diesen Befehl zu verwenden; du musst ein Administrator auf dem Server sein!", "PlayerAddedToWhitelist": "Steam ID <color=#AE3624>{0}</color> wurde zur Whitelist hinzugefügt.", "PlayerRemovedFromWhitelist": "Steam ID <color=#AE3624>{0}</color> wurde von der Whitelist entfernt.", "PlayerAlreadyWhitelisted": "Steam ID <color=#AE3624>{0}</color> ist bereits auf der Whitelist.", "PlayerNotWhitelisted": "Steam ID <color=#AE3624>{0}</color> ist nicht auf der Whitelist.", "CheckStarted": "Überprüfung der Spieler wurde gestartet.", "UsageAddToWhitelist": "Benutze: /asw <steamid>", "UsageRemoveFromWhitelist": "Benutze: /rsw <steamid>" }$9.99 -
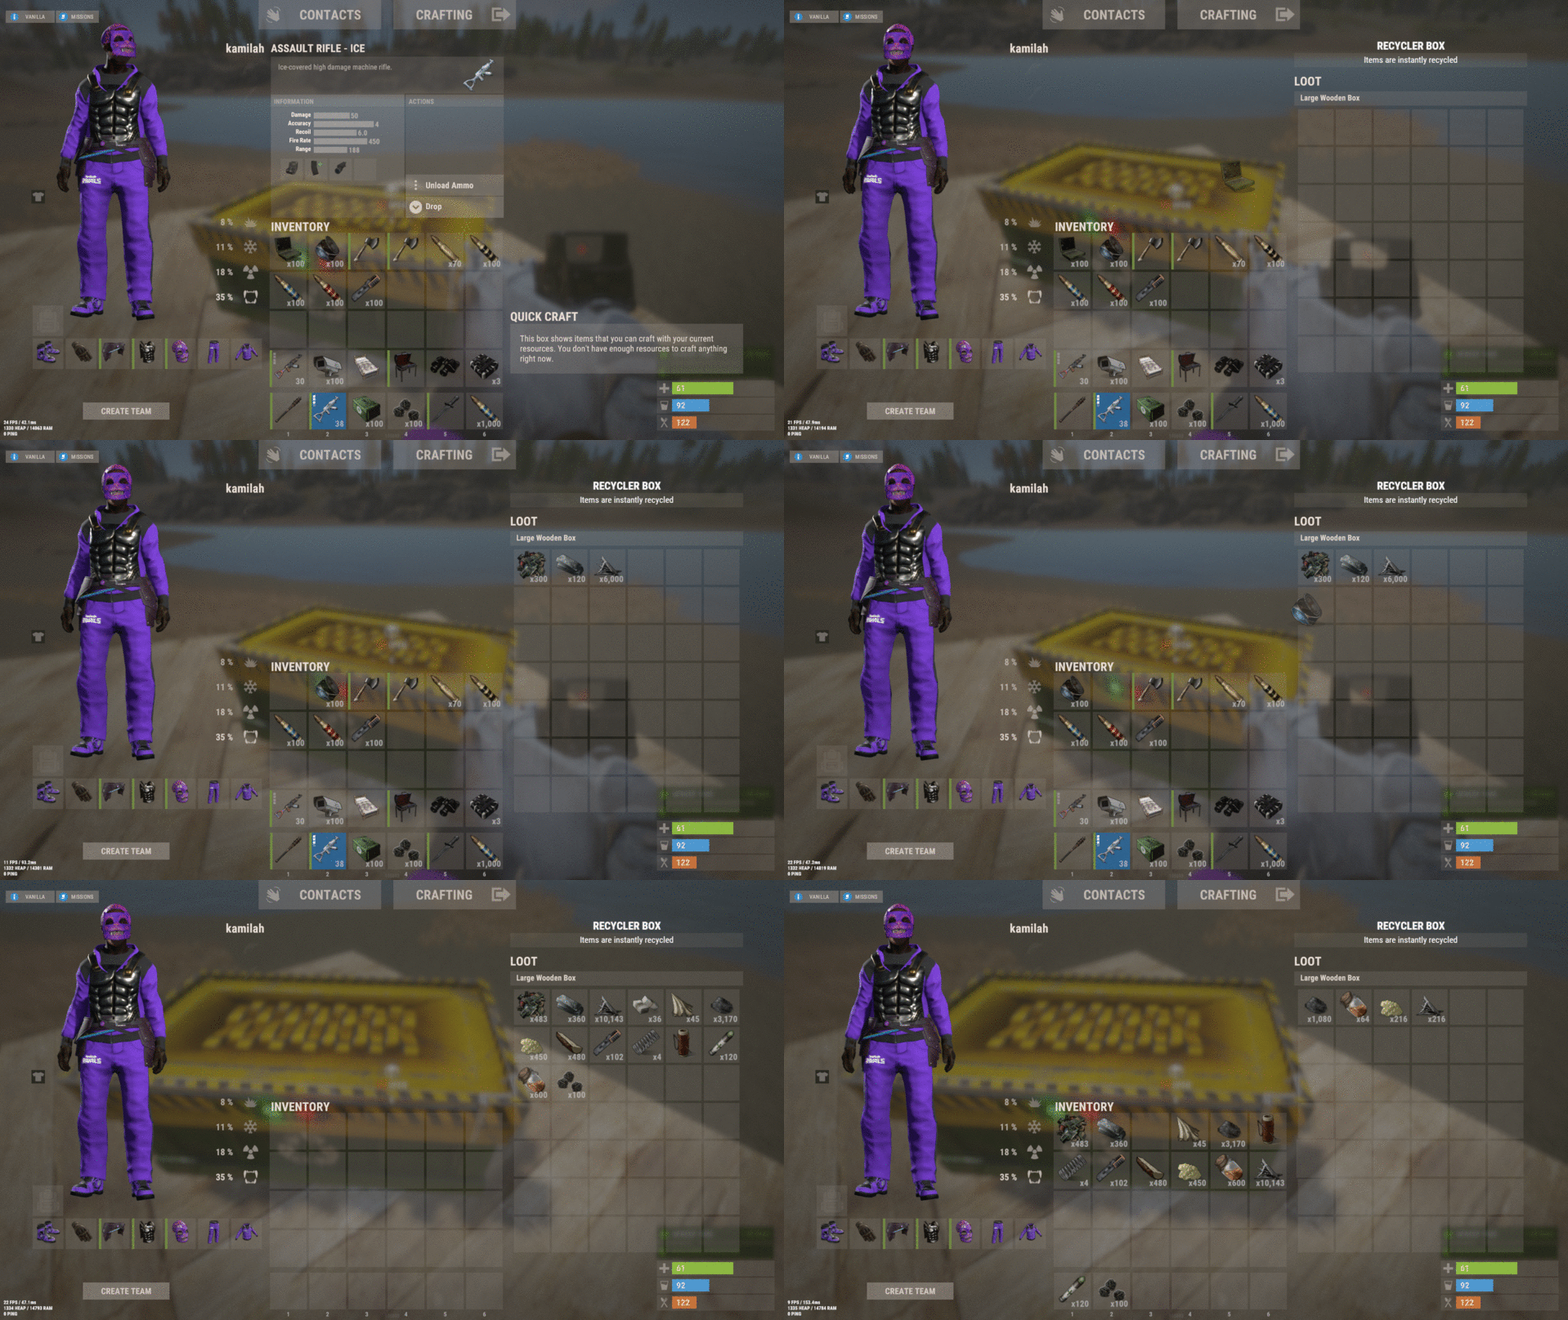
We are giving a clear yes to this plugin! It combines several functions into one and offers the choice between a small or large recycler box. This gives users the freedom to decide what they want to place. The support is extremely friendly, and ideas were implemented quickly. The configuration is easy to understand. The few euros were definitely well spent. Thank you for this fantastic plugin!
-
Sputnik The Sputnik plugin is a brilliant idea that brings a lot of action to the game. A Sputnik falls from the sky, guarded by NPCs or even attack helicopters, providing an exciting challenge for players. It also comes with several preset features, and as usual, the installation was smooth and hassle-free. User-friendliness is a top priority with this plugin as well. Issues are quickly resolved, and regular updates ensure the plugin stays up to date. Another top-tier plugin from Adem. We highly recommend Sputnik – it’s worth every cent!
-
Space – The Little Loot Machine Space is a plugin that wasn’t very popular with us at first, mainly due to the high effort it requires. However, those who manage to overcome the challenge absolutely love it! The plugin is well-configured, and the loot is plentiful. Fortunately, there are recyclers on-site to quickly get rid of any excess items. As with most of Adem’s plugins, installation is incredibly simple, with clear instructions that anyone can follow. It’s also compatible with both Carbon and Oxide, making the setup effortless. This plugin breathes new life into the skies and is a fantastic idea from Adem. While it would be great to see a few new stations for more variety in the future, the plugin is already nearly perfect as is. As always, the support is polite, fast, and top-notch. Updates are delivered promptly, and any bugs are quickly fixed. We highly recommend Space if you're looking to make the skies more exciting in your game. PS: The controls take a bit of getting used to, but once you figure them out, it’s easy to get up there!
-
Convoy Reforged The classic Convoy plugin, now known as Convoy Reforged, is one we keep coming back to – and it still keeps our community entertained. It’s unclear why Facepunch hasn’t added something like this to the game themselves, but thankfully, we have Adem! This plugin is perfect for anyone looking to add more action to the roads, with an incredible range of customization options. Out of the box, the plugin comes with several well-configured convoys that work great even on vanilla servers. However, for modded servers, it’s recommended to tweak the loot tables to keep things balanced, ensuring players remain engaged over time. Recently, a major update was released, bringing with it the new Convoy Reforged name. We had to rework all of our convoys due to the many new features and vehicles introduced, but the effort was absolutely worth it! The plugin now offers even more ways to create exciting events. We highly recommend this plugin! The support is fantastic, whether via Discord or on the Codefling platform. The plugin is regularly updated, and any bugs are promptly fixed. Yes, it's definitely worth the purchase!
-
Paraplane When Facepunch introduced parachutes to the game, we were already excited – but this plugin takes it to a whole new level. Whether for PvP, events, or PvE, the Paraplane Plugin can be used in a variety of game modes. The installation is incredibly simple, and the configuration file is clear and easy to understand. The trailer is well-made and immediately draws you in, encouraging a purchase. For €15, the quality is excellent, especially considering that the plugin is regularly updated and the support is outstanding. The plugin description provides detailed information that makes it easy to understand, with plenty of images to give a clear idea of what you're getting. We highly recommend this plugin from Adem – top-notch quality with no complaints so far!
- 15 comments
-
- 1
-

-
- #parachute
- #vehicle
- (and 10 more)
-
The Armored Train Plugin is perfect for servers looking to take their train system to the next level, whether for PvP or PvE. It comes with well-configured trains by default, which can easily be customized or even expanded with new ones. This plugin brings much more action to the tracks. After a brief introduction to the configuration files, they become easy to understand, and regular updates ensure that the plugin remains up to date. The support is excellent and always available. For anyone considering purchasing this plugin, we can highly recommend it! What we also find really cool is the inclusion of a Halloween and New Year train, making it perfect for the holidays.
-
- 118 comments
-
- #jtedal
- #mad mappers
- (and 10 more)
-
An excellent plugin for PvP servers, offering new ways to enhance combat. During our use, we encountered no issues that would negatively impact the rating. What more can be said? The price-performance ratio is spot on. Anyone looking for additional traps will definitely find what they need here. Installation was a simply, with a clear and easy-to-understand config. Top Plugin Big thanks to jtedal for this fantastic plugin!
- 2 comments
-
- #jtedal
- #mad mappers
-
(and 10 more)
Tagged with:
-
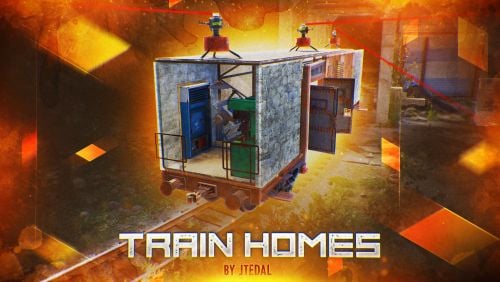
Our Honest Opinion on the "Train Homes" Plugin There are several plugins with similar functionality to "Train Homes". The developer is part of the #MadMappers group, known for innovative ideas and high-quality products. The trailer initially convinced us to purchase the plugin, but if we had known about the existing issues beforehand, we would have decided against it. What do we like about the plugin? The core idea is brilliant. "Train Homes" adds a whole new dimension to the train system in Rust, allowing players to unleash their creativity. A major plus: The plugin works with both Oxide and Carbon. The support is generally available. The trailer is impressive, and trains can be teleported from point A to point B, with several maps already supporting the plugin. Additionally, the configuration file is clear and self-explanatory. Despite these positives, we ultimately decided against the plugin – but why? Why did we decide against the plugin? The plugin only saves the trains if it is properly unloaded. If the server crashes or the plugins are not correctly unloaded during a restart, all built trains are lost because the data is wiped. The developer claims this issue is unfixable, but other developers with similar plugins have already managed to solve it. In Rust, almost any technical challenge can be overcome, as projects like Carbon Client and other developers have shown. While the issue could be avoided by manually unloading the plugin before a restart using Rcon commands, the problem still persists in the event of a server crash. For long-term use, this plugin is therefore not suitable unless players are willing to accept that their trains might disappear. On PvP or event servers, where trains are only used temporarily, the plugin may work well, but for PvE servers, we consider it completely unsuitable. How does our rating break down? • 1 star: Great idea and well-made trailer • 1 star: Compatibility with Oxide & Carbon • 1 star: Generally available support • Star deduction: Misleading plugin description, as the storage issue is not mentioned; unfixable storage issue during server restarts or crashes • Star deduction: Price-performance ratio, as the plugin has flaws and the support comes across as quite unfriendly at times If the developer decides to improve the plugin, it has the potential to earn 5 stars, and in that case, we would also find the price fair. Ps: jtedal This is our personal opinion about your plugin. You don’t need to respond – there are already enough discussions and issue reports that support our assessment.
- 118 comments
-
- 3
-

-

-
- #jtedal
- #mad mappers
- (and 10 more)
-
- 118 comments
-
- 1
-

-
- #jtedal
- #mad mappers
- (and 10 more)
-
Here’s a quick solution: Look for the private void OnLootSpawn(LootContainer container) and add the following line directly under: Item wagon = ItemManager.CreateByName("electric.flasherlight", 1, SkindIdFlasher); Then, insert this line: wagon.name = "Wagon"; Of course, you can customize the name as you like. This way, the items will have a custom name when they spawn in the crates.
- 118 comments
-
- 1
-

-
- #jtedal
- #mad mappers
- (and 10 more)
-
This plugin has been on our server for almost three years and is one of the most popular of all time. Whenever there are issues with the plugin, all hell breaks loose. In case of problems, the plugin is fixed immediately. Our users can purchase the jetpack in our lobby, equip it, and take off right away. Although the trailer is somewhat old, it gets straight to the point! The installation of the plugin is very simple, and the configuration file is extremely user-friendly. We highly recommend this plugin – it’s a great alternative to helicopters. In general, the developer Adem is extremely helpful! Thank you for your amazing plugins. We look forward to expanding our portfolio soon! ^^
-
DeutscherRitterPlatz started following Train Homes
-
Dear jtedal, We would be very grateful if you could take another look at your plugin and address the storage issue. Currently, the plugin only saves during an unload, but not during a regular OnServerSave. If I manually unload the plugin before a restart, the wagons are reloaded properly on the next startup. The issue seems to be related to the way the wagons are stored: Unload > WriteData > CreateData For long-term usage with the same wagons, the plugin is currently not suitable, as it only works through manual unloading. If the server freezes or crashes unexpectedly, all saved data is lost because .clear is used by CreateData in this case. It would be fantastic if you, together with dev colleagues @Adem or @KpucTaJl, could review and resolve this save issue, so that the plugin can be used on PvE and PvP servers with multiple daily restarts. The Plugin idea is great, and the trailer is really well done, but unfortunately, the plugin isn't yet suitable for long-term use. Our server uses the Rust Restart Command for restarts. At 18:59, it saves all data and then unloads all plugins. We use Carbon. This issue is already known and has been reported times by several buyers. Thank you very much and best regards
- 118 comments
-
- 1
-

-
- #jtedal
- #mad mappers
- (and 10 more)











.thumb.png.ac72dca13c4e30a2d2181ddd2b0fdc0a.png)
