
.thumb.gif.755d21200790071713789c718a857a58.gif)

At the moment, there are no ready-made presets for BetterNpc. But they will appear a little later
FEATURES
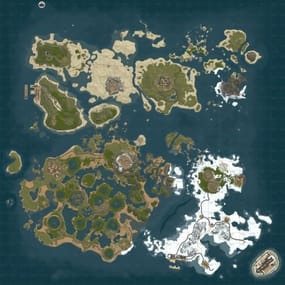
Map size: 4500;
Prefab count: ~54k;
A lot of attention was paid to nature, and each section of the map was designed in detail;
Most of the rocks are hand-crafted, which makes them look much better.
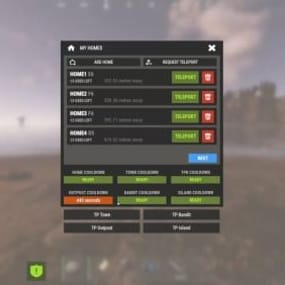
The custom config for the BetterNpc plugin is set up so that bots are present at all points of interest;
Compatible with BetterNPC plugins (Config for bots in the file), Train Homes and Raidable bases;
Underground railway;
A large number of small settlements/single buildings not marked on the road map by road;
Double-track surface railway with 1 entrance to the metro with separate branches for spawn trains;
Ring road (compatible with event plugins);
There are custom trawlers;
Evenly spaced monuments to spread the FPS load of client;
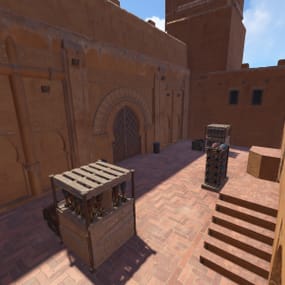
A lot custom building places (X on the minimap);
Custom places for building in the subway (XU on the minimap);
Bridges are designed for easy tugboat access;
A large number of points with access to fresh water for farms. ( Rivers inside the island work like regular game rivers )
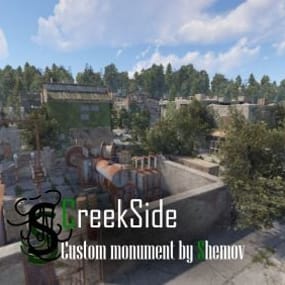
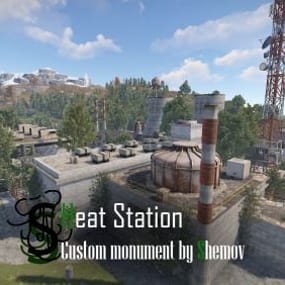
CUSTOM MONUMENTS
Oil Refinery;
Construction Site;
Abandoned Oil Tanks;
Oil Tanks;
Crash Site;
Oil Platform;
Deep Seeker ( Trawler );
Northwind ( Trawler );
Storm Trawler ( Trawler );
Sea Wolf ( Trawler );
Silver Catch ( Trawler );
Bering Beauty ( Trawler );
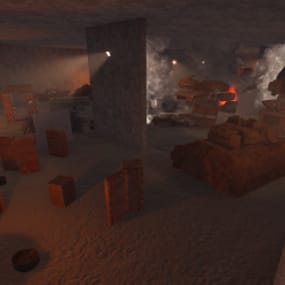
Underwater caves (x2 ) ( Zones for underwater farm );
Sunken Containers (x2 ) ( Zones for underwater farm );
A lots custom places to build a base. ( "X"/"XU" on map );
Train Station ( For Train homes plugin )
A lots unmarked buildings.
FACEPUNCH MONUMENTS
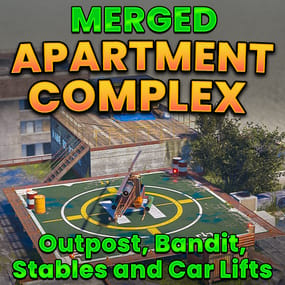
Combined Outpost;
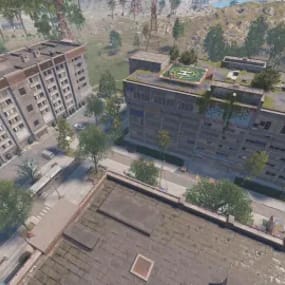
Apartment Complex;
Military Tunnel;
Harbour (2/2);
Ferry Terminal;
Radtown;
Abandoned Supermarket;
Nuclear Missile Silo;
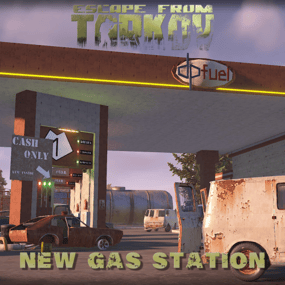
Oxum's Gas Station;
Airfield;
Lighthouse;
The Dome;
Water treatment plant;
Trainyard;
Power Plant;
Arctic Research Base;
Desert Military Base;
Giant Excavator Pit;
Stone, Sulfur & HQM quarries;
Satellite Dish;
Small & Large Oil Rig;
Large Underwater Lab.
My Discord: shemov
Discord Server: https://discord.gg/UpUXuxs4Vx
A password is attached to the map. You can edit it.


Highest Rated
Top-rated picks trusted and loved by the community.
-
 $16.99
By David
-
sale
$40.00$30.00By nivex
-
sale

$29.99$22.99By LosGranada
-
 $29.99
By imthenewguy
-
sale

$40.00$31.95By Mevent
-
 $24.99
By Whispers88
-
-
-
 Free
FreeBy Steenamaroo
-
 $14.99
By AhigaO
-
sale

$19.99$15.99By Fruster
-
 $14.99
By David
-
sale
$45.99$39.09By Monster
-
sale

$19.99$15.99By Fruster
Trending Files
Popular picks members are downloading the most right now.
-
-
Free
By Steenamaroo
-
$29.99
By imthenewguy
-
 Free
FreeBy tofurahie
-
$24.99
By Whispers88
-
sale
-
sale
$19.99$15.99By Fruster
-
 Free
FreeBy KpucTaJl
-
$16.99
By David
-
sale
$40.00$31.95By Mevent
-
sale
$19.99$15.99By Fruster
-
 $40.00
By Steenamaroo
-
-
 Free
FreeBy Steenamaroo
Great Deals
Discounted picks, limited-time deals, and sale items worth grabbing now.
-
sale

$3.00$2.10By Ionut Shiro
-
sale

$24.99$14.99By Khan
-
sale

$6.00$4.20By Ionut Shiro
-
sale
$9.30$7.90By Shemov
-
sale
$19.95$15.95By Mevent
-
sale

$3.99$1.40 -
sale

$8.30$7.05By Shemov
-
sale
$12.30$10.45By Shemov
-
sale
$15.00$10.00By NINJA WORKS
-
sale
$27.00$18.90By Ionut Shiro
-
sale

$5.00$3.50By Ionut Shiro
-
sale
-
sale

$37.99$29.00By DezLife
-
sale
.thumb.png.7d6853a01f7e03d1e0d3eaf96943b967.png)
$9.00$4.50By Gluman
Recently Updated
Recently improved files with fresh updates, fixes, and new content.
-
sale
$19.95$11.95By Mevent
-
 $20.00
By Neighigh
-
sale
.thumb.gif.734e2c05d0583fba3ca2be9e58bda3a9.gif)
$19.99$7.00 -
 $6.99
$6.99By the-bandit
-
 Free
FreeBy HunterZ
-

-

-
 $24.99
By Whispers88
-
sale
$49.95$32.97By Niko
-
sale

$39.95$26.37By Niko
-
sale
$49.95$32.97By Niko
-
-
 $39.90
By badgyver
-