


(1)(3).thumb.png.ae3f7cf4601f73b39edc85a84ad53ac9.png)
About Multiverse

Connect multiple Rust servers together and have your players travel between them in fun ways using events!
This plugin allows you to synchronize player inventories and stats, event containers, and much more to come!
Please use the Discussions tab to recommend suggestions, as I am very open to implementing your great ideas for everyone to enjoy!
NOTICE: This plugin does not automatically reconnect you to other servers as Rust's Nexus system is not released yet.
You'll be notified that you must type in the connect command leading the IP and port of the server you've been transferred to.
Try before you buy it!
connect germany.mikehawke.co.uk:29015
[ ! ] PLEASE KEEP IN MIND THAT CERTAIN SERVER HOSTS DO NOT ALLOW YOU [ ! ]
[ ! ] TO IMPORT FILES/DLLS, WHICH THIS PLUGIN REQUIRES YOU TO [ ! ]
INCLUDED DLL EXTENSIONS REQUIRED
EVENTS

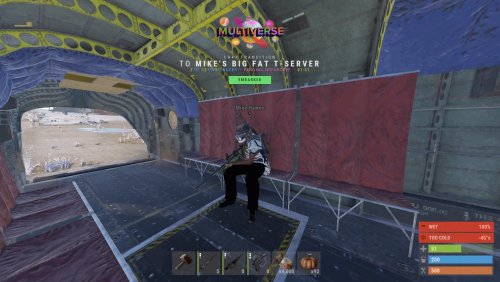
CH47 Transition Event
FRIENDLY & HOSTILE MODES
THIS EVENT REQUIRES BOTH INITIAL AND DESTINATION SERVERS TO HAVE AIRFIELD FOR IT TO WORK
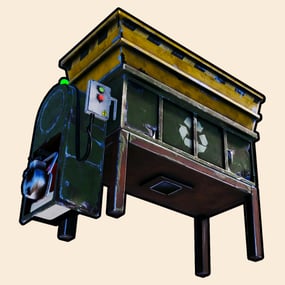
The Chinook event carries you and another 12 participants over the seas. You'll be greeted by Jackie Chan and Jamie Lee, your border patrol officers which will assist you to have a save welcoming onto the server. Make sure you're not wearing any illegal items on you or you'll be marked hostile and will be immediately attacked.
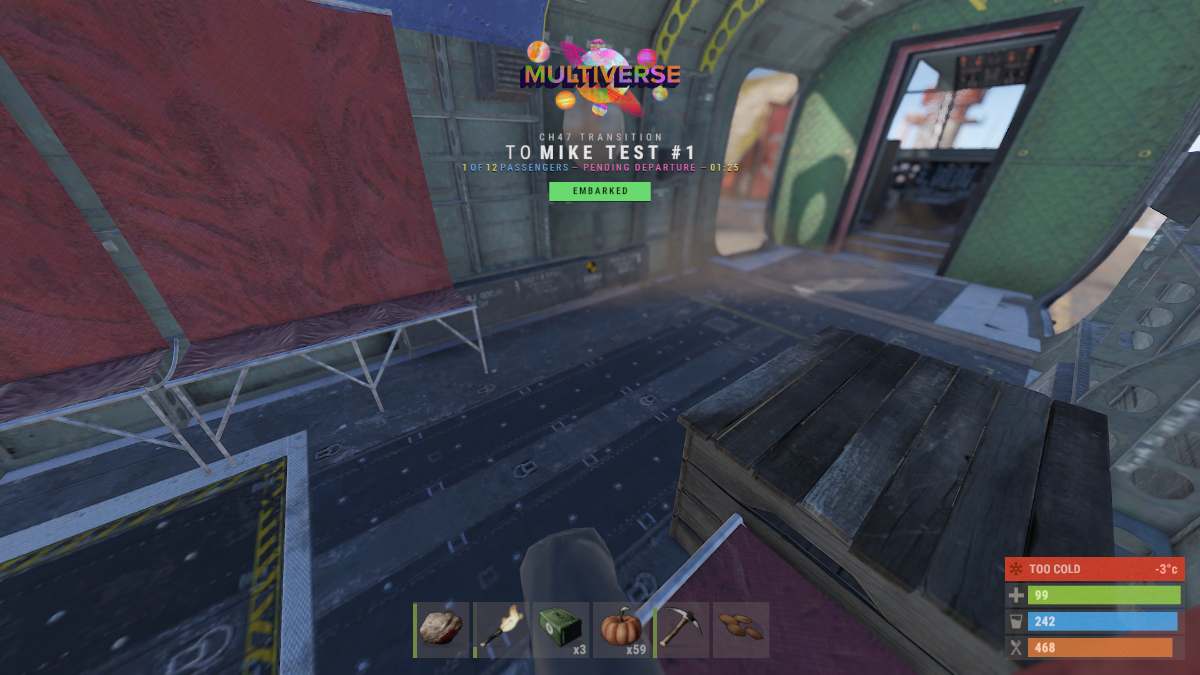
The storage on the right in the picture can be used as luggage which can carry items that are coming with the Chinook onto the other server. On screen you'll find the directions on how to get yourself seated. Press [RELOAD] to open up the seating panel, and assign yourself onto whichever you're liking.

.png.7320f4a5442061079d65195f05c0ffaa.png)
Cargo Ship Transition Event
FRIENDLY & HOSTILE MODES
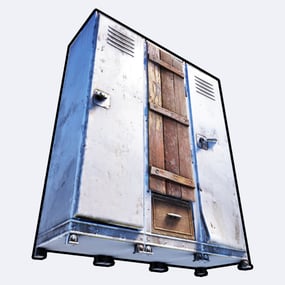
The Cargo Ship event you're willing to infiltrate and use for transport is driven by scientists or has a peaceful visit in the server you're in, broadcasting its next travelling spot.
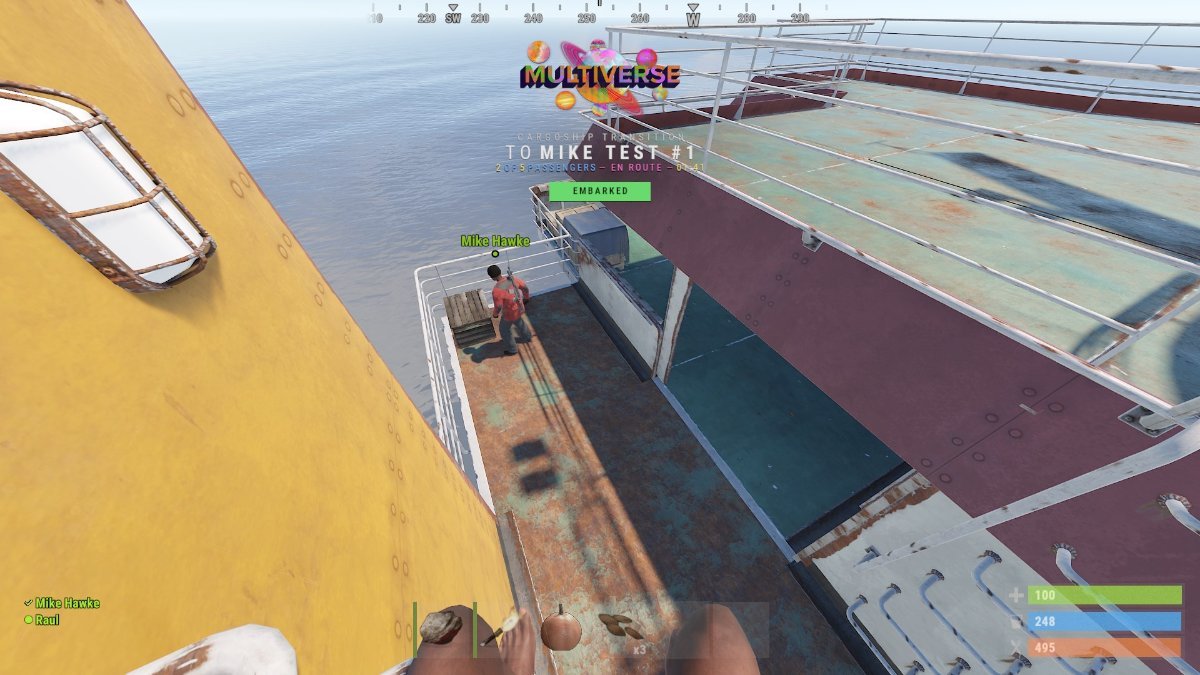
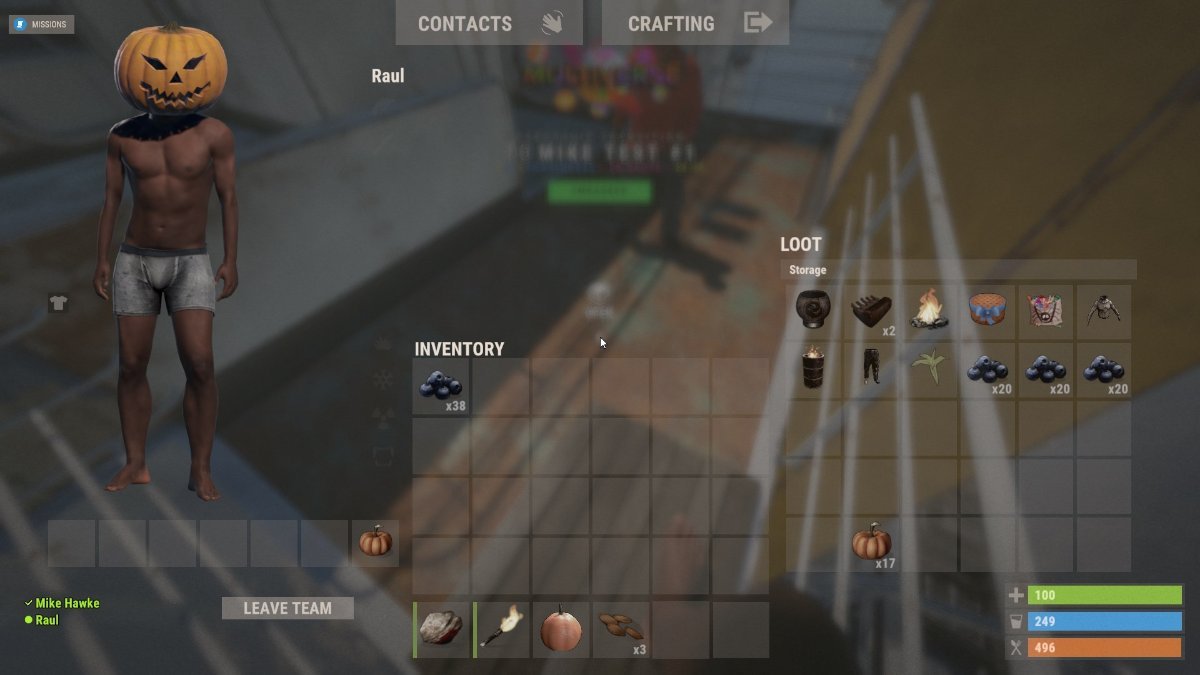
You got a luggage storage which can contain items you wanna carry from the other server in mass.
HOW TO INSTALL
- Have at least 2 servers running so you can make sure the whole connection is valid.
-
On both of your servers, make sure you've loaded the required dependencies for the plugin to work:
- ImageLibrary by k1lly0u from uMod
- Human NPC by Ts3hosting from uMod
- On the first server you consider the Main/Master, make sure you have MultiverseCore.cs and MultiverseMaster.cs. in the plugins folder.
- On the second server you consider Secondary/Slave, make sure you have MultiverseCore.cs and MultiverseSlave.cs in the plugins folder.
- After this is done, in the Master server, in oxide/config folder you should find MultiverseMaster.json.
- Opening it up, you should find a similar config to the one underneath this page, at the CONFIGURATION section.
-
In the shared section, under the Servers property, you must define both your Main and Secondary servers in the list.
- Only one of the defined servers must have the IsMaster property set to true.
- Once that is done, make sure you reload the plugin (with o.reload MultiverseMaster) to apply the changes.
- Please make sure you provide the FirstSpawnServerId property and set it to the ID for the server defined in the Servers property in the config.
- When the server reloads, you should see what is in the image on both of your servers' windows.
-
To validate that everything is connected, you can manually trigger events with the following command:
- spawnevent master slave01 2: This will create a Friendly CargoShip event on the Master server which when the timer runs out, it gets teleported to the other Slave server you're running.
- spawnevent slave01 0: This will create a Friendly CH47 event which comes from the Slave server to the Master. This only works if both servers have Airfield on the map. If you don't, you can use 2 or 3 for the event type value to spawn CargoShips and start events on both servers simultaneously.
- For more info, scroll lower and read through the CONFIGURATION and/or COMMANDS section if things aren't clear enough.

srvs 1/3 is the connected and total amount of servers that are connected with eachother.
evnts 0 are the currently locally running events on the server.
arriv 0 are the currently local locally running arrival events, events that come from other servers.
hnshk valid this must be valid at all times, if the master server goes offline, the handshake becomes invalidated.
NOTE: The handshake between the master server and all the sub-connected servers must be synchronized. If the Master server goes offline, the sub-servers will be locked until the Master server is up so it can dictate where the players should go and the their activity being communicated.
To set your events up and running, so it all comes to life, follow these instructions:
- If you at any point struggle to understand where all this is referring to, please scroll lower and read through the CONFIGURATION section, every single property is explained.
-
Within the Shared property, you'll find the Schedules array. Schedules currently consist in 4 different key elements to run.
- SourceServerId is the ID of the server the event is starting from.
- DestinationServerId is the ID of the server the event is going towards.
- EventType is the integer index of the event type / kind you want to be executed for that schedule.
- Cooldown in minutes the schedule will be postponed until it can be triggered again. (I highly recommend 30 minutes)
- After this property is done, make sure you reload the Master server plugin (o.reload MultiverseMaster) to apply all your changes.
NOTE #1: Scheduled events only get triggered if both the server an event is starting from and the server an event is going towards are valid and online / connected.
NOTE #2: Scheduled events are executed in random order.
CONFIGURATION
The entire plugin can be managed from one configuration file, which can be found in the config folder of the Master server when you've initially added the MultiverseMaster.cs script in the plugins folder (alongside the MultiverseCore.cs file). There can be defined only one server as being the master server. Highly advise to keep the ID of it to "master".
The MultiverseSlave.cs and MultiverseCore.cs both go in all the other servers' oxide/plugins folder.
This is a rundown on all the current settings you can have for the Master server:
  "Sync": {
    "Interval": 120.0,
    "Time": true,
    "Weather": true
  }
The sync property is used by the Master server to synchronize the time and weather across all the servers. The interval is set to 120 seconds by default, which is what it is recommended.
"ScheduleTickRate (in seconds)": 60.0
Scheduled events ticking rate in seconds. It basically checks every 60 seconds if there's anything available to be triggered onto the server based on the cooldowns of existent scheduled events.
  "Legend": {
    "EventTypes": {
      "0": "CH47 Friendly",
      "1": "CH47 Hostile",
      "2": "CargoShip Friendly",
      "3": "CargoShip Hostile"
    }
  }
The legend is read-only, is to help you to choose what events you'd like to use in your schedule list.
  "Shared": {
    "FirstSpawnServerId": "master",
    "WipeDeadBody": true,
    "UI": {
      "ShowLogo": true,
      "ShowShadows": true,
      "Colors": {
        "ValueColor": "eee16f",
        "PassengersColor": "6faaee",
        "StatusColor": "ee6fbe"
      }
    },
    "BorderPatrol": {
      "IllegalItems": [
        {
          "ShortName": "bleach",
          "SkinId": 0,
          "MinAmount": -1
        }
      ]
    },
    "Schedules": [
      {
        "SourceServerId": "myserver1",
        "DestinationServerId": "myserver2",
        "EventType": 0,
        "Cooldown": 30.0
      },
	  {
        "SourceServerId": "master",
        "DestinationServerId": "myserver1",
        "EventType": 2,
        "Cooldown": 30.0
      }
    ],
    "Servers": [
      {
        "IsMaster": true,
        "Id": "master",
        "DisplayName": "Master",
        "Ip": "myip",
        "Port": 12345,
        "RconPort": 12346,
        "RconPassword": "legitpassword",
        "Settings": {},
        "IsConnected": true
      },
      {
        "IsMaster": false,
        "Id": "slave01",
        "DisplayName": "Slave #01",
        "Ip": "myip",
        "Port": 23456,
        "RconPort": 23457,
        "RconPassword": "legitpassword",
        "Settings": {},
        "IsConnected": false
      },
      {
        "IsMaster": false,
        "Id": "slave02",
        "DisplayName": "Slave #02",
        "Ip": "myip",
        "Port": 23456,
        "RconPort": 23457,
        "RconPassword": "legitpassword",
        "Settings": {},
        "IsConnected": false
      },
      {
        "IsMaster": false,
        "Id": "slave03",
        "DisplayName": "Slave #03",
        "Ip": "myip",
        "Port": 34567,
        "RconPort": 34568,
        "RconPassword": "legitpassword",
        "Settings": {},
        "IsConnected": false
      }
    ]
  }
This portion of the config is being shared across all servers, just to stay up to date so you don't have to manually do anything onto the other servers.
- FirstSpawnServerId: Is the where all the newly spawned players that connect to your Multiverse get sent to. If it is one of your other servers, they'll be redirected to this one.
- WipeDeadBody: Will simply remove the player's info from the data file when a player is dead. This could be used to avoid keeping track of short-time visitors onto the server.
- UI: It's cosmetic changes to the UI that can be noticed most of the time on screen.
-
BorderPatrol: You may configure what items are illegal to carry from a server to another.
-
IllegalItems:
- ShortName: Is the short name of the item.
- SkinId: Used for specific skinned items to be considered contraband.
- MinAmount: Keep the minimum amount to -1 if you want the whole item to be considered as contraband. Raise it to any other number if a specific amount of items with the amount can be carried across.
-
IllegalItems:
-
Schedules:
- SourceServerId: Is where the event starts. Use the ID predefined in the Servers property.
- DestinationServerId: Where the players are sent when they the event transitioned. Use the ID predefined in the Servers property.
- EventType: Is the preferred event ID showed in the Legend section of the config file. Use 0 for CH47 Friendly, 1 for CH47 Hostile, etc.
- Cooldown: In minutes, it's used whenever an event has started.
-
Servers:
- IsMaster: This must be assigned to "true" only for one defined server in this array property.
- Id: Is the server ID that the Scheduled events will be using to initiate events from a server going to another.
- DisplayName: The in-game name of the servers which will be announced in chat and the UI whenever an event goes towards them.
- Ip: The IP of the server one can connect to (client & RCON).
- Port: The port of the server.
- RconPort: The RCON port of the server one can connect to.
- RconPassword: The password of the RCON connection one server can connect to.
- Settings: This will become more populated in future updates.
- IsConnected: This can be ignored. It's required to be displayed for serialization reasons.
COMMANDS
-
Admin Console Commands
- spawnevent [fromServerId] [toServerId] [eventType]: Manually starts an event.
- move [playerName/Id] [serverId]: Forcefully moves a player to another server. They'll respawn like a fresh spawn but with everything they have carried in their inventory from the server they came from.
-
Admin Chat Commands
- /multiadmin: Opens the admin panel. ONLY ACCESSIBLE ON THE MASTER SERVER.
-
Player Commands
- None. As of now.
PERMISSIONS
- Multiverse.admin: Mainly used by administrator commands or behaviour change.
UPCOMING
- Synchronize Teams
- Synchronize Blueprints
- Add plugin synchronisation support
- Add more events
- Add custom events
- Add passport system
(1)(3).png.4da90b1ef6dcf8b08184349b09344659.png)
(c) Raul-Sorin Sorban — 2022
All rights reserved


.thumb.png.e927ba0531404dd8aafe051874dcae0d.png)
.thumb.png.9a12c819d22cdd6f03dc06bee65f43d1.png)
(1)(1).thumb.png.c4513fa6bb6c6f0caa5023bc3e0a7f18.png)
(1)(2)(1).thumb.png.5a66f3c79205edcb03200165026adc80.png)
.thumb.png.17441492dd0acd339ce6a58976c8869d.png)
(1).thumb.png.808a3fccbcd4a28de5d7f511832a1442.png)
.thumb.gif.ff83cef710170586b8b775d1a5061051.gif)
.thumb.gif.592f185ee065568da86c07b3c22bb4d7.gif)
.thumb.gif.dace9cf8da786b850716fa7ea62e5a83.gif)
.thumb.gif.4d2293ce11dfbcd9e8c0213eec2d2f5e.gif)