All Activity
- Past hour
-
 Mr.detlef joined the community
 -
 BunBun changed their profile photo
 - Today
-
.thumb.png.fdca67acbe8b7d3bf2f136b3742964e5.png) I'm already working on it and plan to include it in the next update. Thanks for your patience!
I'm already working on it and plan to include it in the next update. Thanks for your patience! -
 cocoxis joined the community
 -
Hi OxideBro, I bought the RustCuiEditor, but unfortunately, it doesn't meet my expectations or work as advertised for importing and editing third-party plugins. Since you deliver the license key automatically, you can simply revoke/deactivate the license key from my account, so you won't lose anything on your end. Could you please process a refund for this purchase? Thank you.
-
 tkomazu joined the community
 -
 Marsss changed their profile photo
 -
 How do i pu this into my rust server
 -
 KingzzPlayzz joined the community
 -
 baimaobai joined the community
 -
 Lotuzx changed their profile photo
 -
 YO_OT joined the community
 -
 Drahkula joined the community
 -
i have the same problem i have removed the lines mentioned and the spam in the console has stopped
-
 Life joined the community
 -
Try this config, it should help in long-term. If fps drop happens right after spawning all bots, then you can try to increase timer ticks Or lower the amount of bots to balance performance RoamingNPCs.json
-
I didn't find any issues with the library; the problem might be with your `lang`.
-

Getting tons of console spam with this Map, I even tested with no plugins loaded and it still happens.
SlayersRust replied to SlayersRust's Support Report in Support
If you arent able its okay mate Im decent at rustedit so I can make fixes myself if needed. Just thought id give a heads up -

Getting tons of console spam with this Map, I even tested with no plugins loaded and it still happens.
Zero Absoluto replied to SlayersRust's Support Report in Support
I'm working on this, but since I can't upload much, or anything at all, and on top of that, with each restriction from FP, I'm thinking more and more about whether to continue or not... -
Getting tons of console spam with this Map, I even tested with no plugins loaded and it still happens.
Zero Absoluto replied to SlayersRust's Support Report in Support
It could be a solution, but then what do we do without NPCs? Every time FP updates something and introduces something, we're left without options because they copy ideas to make them official so that we, the idea creators, aren't needed. -
 Nukahs changed their profile photo
 -
Changed Status from Pending to Closed
-
Changed Status from Pending to Closed
-
Changed Status from Pending to Closed
-
Changed Status from Pending to Closed
-

Electrical IO to access underground doesn't work
badgyver replied to JackMachine's Support Report in Support
Changed Status from Pending to Closed -
Getting tons of console spam with this Map, I even tested with no plugins loaded and it still happens.
SlayersRust replied to SlayersRust's Support Report in Support
Ah makes sense! Sorry for all the issues lately, facepunch has been quite annoying forsure. I wonder if removing all the npc spawners from the rustedit map file will stop the spam? -
 SHOCK NUTS changed their profile photo
 -
Getting tons of console spam with this Map, I even tested with no plugins loaded and it still happens.
Zero Absoluto replied to SlayersRust's Support Report in Support
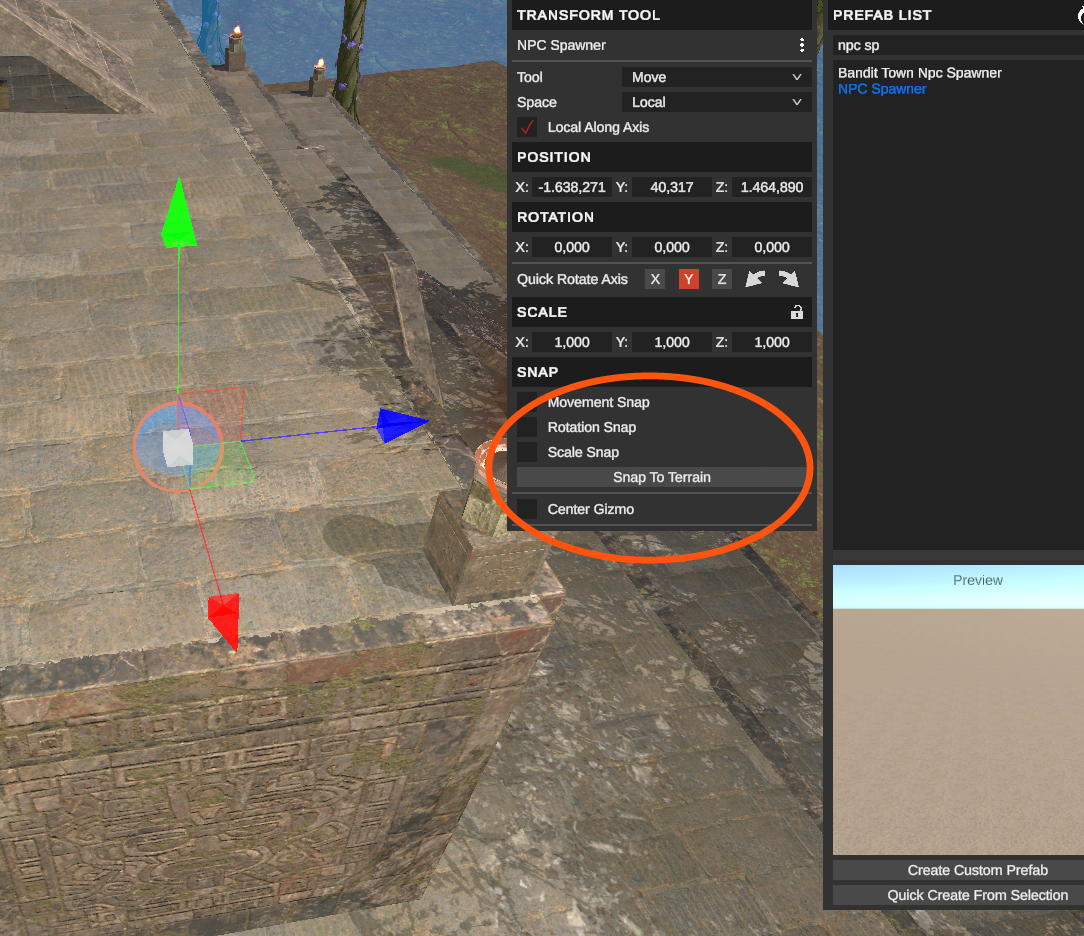
If you look at my picture, the options to change from scientist to zombie don't appear, unless in the almost 3 months I've been away, this option no longer works and the zombies are placed differently; this is what the error must be, since in principle there should be many zombies in this area and there isn't a single one.
-
 Wise Dental joined the community
 -
Getting tons of console spam with this Map, I even tested with no plugins loaded and it still happens.
Zero Absoluto replied to SlayersRust's Support Report in Support
Editing maps gets more complicated with each FP update, I'm sorry you're having these problems -
Getting tons of console spam with this Map, I even tested with no plugins loaded and it still happens.
Zero Absoluto replied to SlayersRust's Support Report in Support
I think I know what might be happening, but I don't know how to fix it. In my editor, the latest working version, the zombie bots aren't showing up in the temples. And when I try to place them, I can't select the Marauders. That could be one of the errors, but I can't verify it since I can't connect to a server to test if that's the problem. -
Getting tons of console spam with this Map, I even tested with no plugins loaded and it still happens.
Zero Absoluto replied to SlayersRust's Support Report in Support
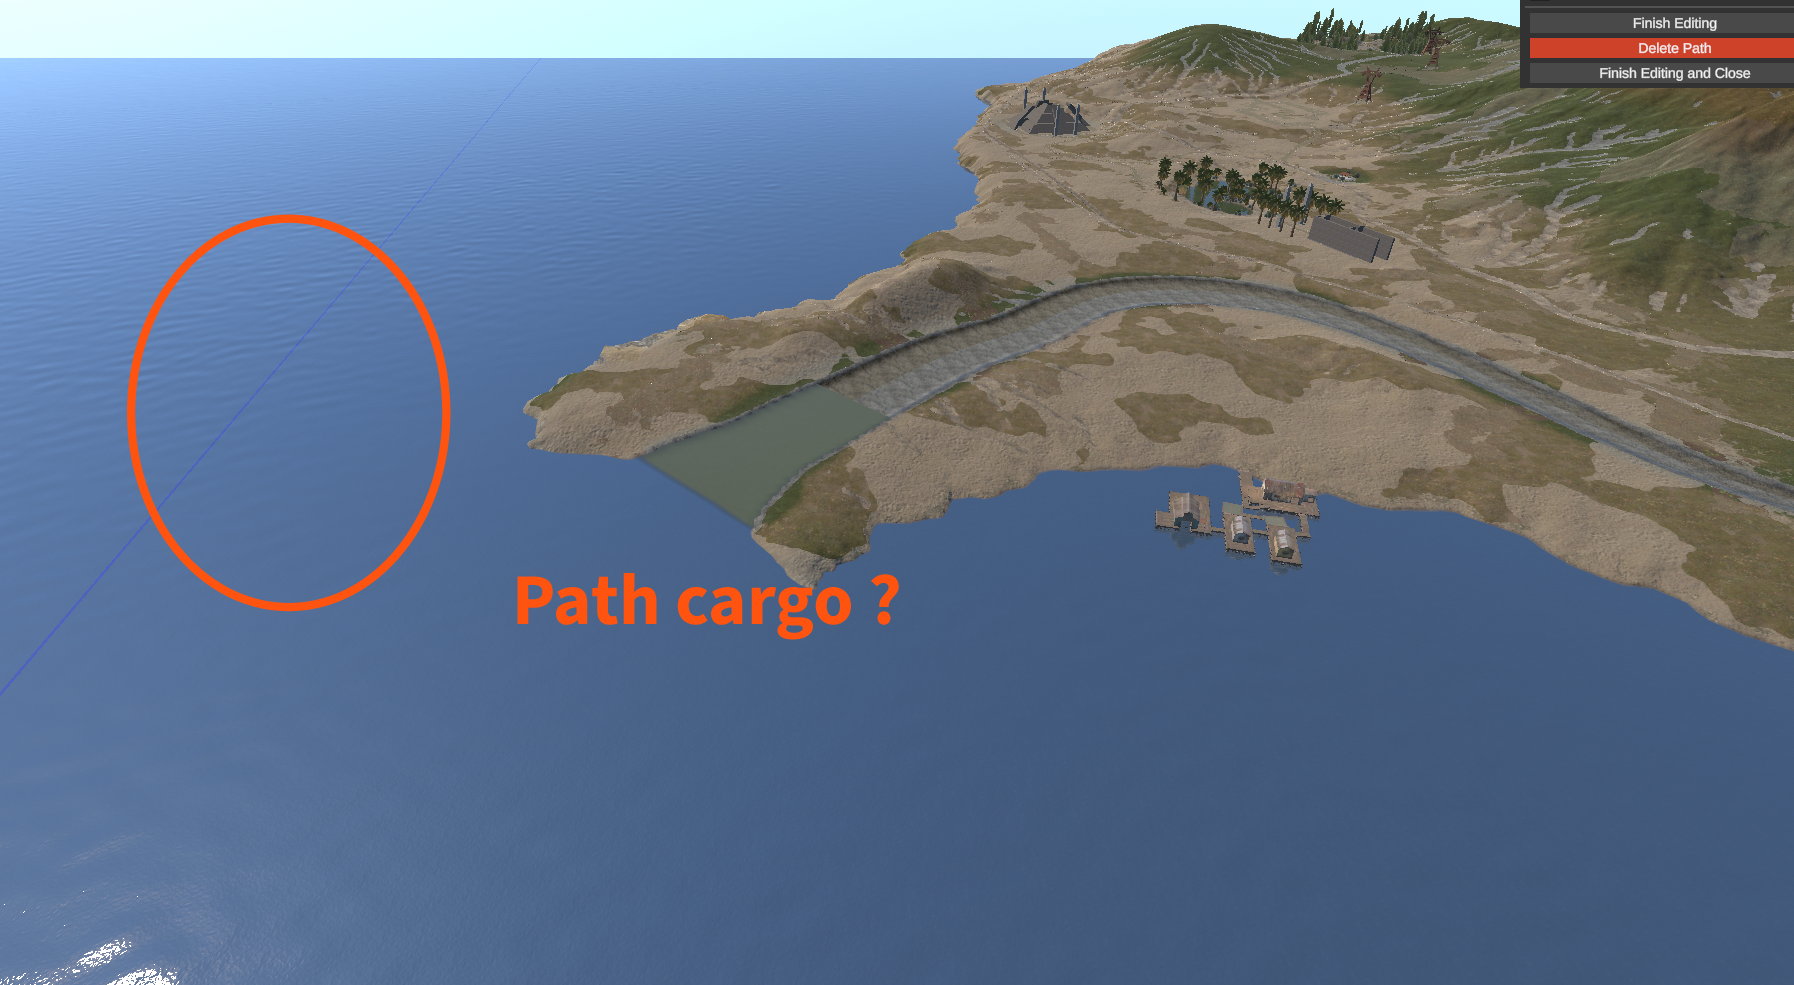
That's a bug in the game or the editor's, because if you look at my image, the cargo line is through the water, so there's not much I can do. Sorry for the inconvenience.
-
Getting tons of console spam with this Map, I even tested with no plugins loaded and it still happens.
Zero Absoluto replied to SlayersRust's Support Report in Support
That's a bug in the game or the editor's, because if you look at my image, the cargo line is through the water, so there's not much I can do. Sorry for the inconvenience.
-
 GCRP changed their profile photo
 -
 Dony407 changed their profile photo
 -
 LionLootpost changed their profile photo
 -
 andie_90 changed their profile photo
 -
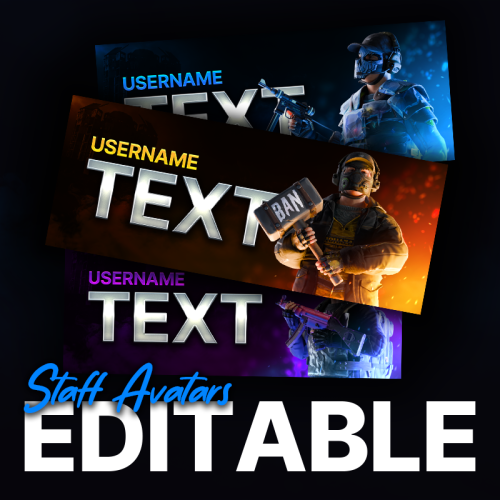 any way possibel you can make new ones with new gun images like ak, m2 and m16
 -
Im thinking it is with my Item stacking plugin, but wanted to confirm with you this isnt a loottable thing


.thumb.png.ccf8a947948c9eb1445ad21a7931247b.png)