Death's Wishlist
-
Portable Recycler
By Raul-Sorin Sorban in Plugins
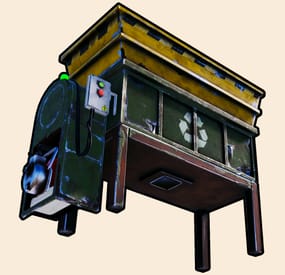
With Portable Recycler, you and your players will benefit exponentially in time saving for searching for Recyclers around monuments like never before. Access your own portable recycler anywhere you like!
FEATURES
Use /recycler (by default, can modify in the config) to open up your private recycler. Group-based cooldown support in the config. Friendly integration with NoEscape by Calytic with configurable rules of behavior. Chat message custom icon Steam ID. Phrase support. Group-based recycling quality. Group-based recycling rates.
PERMISSIONS
PortableRecycler.use: To allow anyone to open up their recycler.
COMMANDS (CONFIGURABLE)
Following commands are chat and console commands.
recycler: Opens up your own personal portable recycler.
CONFIG
DISCLAIMER
The yellow and green buttons while using the Recycler in the GIF, does not come with the plugin.
That's another plugin called Quick Sort by MONaH.
-
Welcome Panel
Site
In case you having issues with plugin feel free to open support ticket on site here. I will usually respond within 24 hours not including weekends.
Discord
I'm also available at my discord server where I provide support for my customers. You can also find small community here and get answers for your questions. Invite link here.
Documentation
To find out what can be customized within config file please refer to full plugin documentation here. Any questions prior to purchasing forward into DM here or into ticket at my discord.
Default configs available as template with plugin.
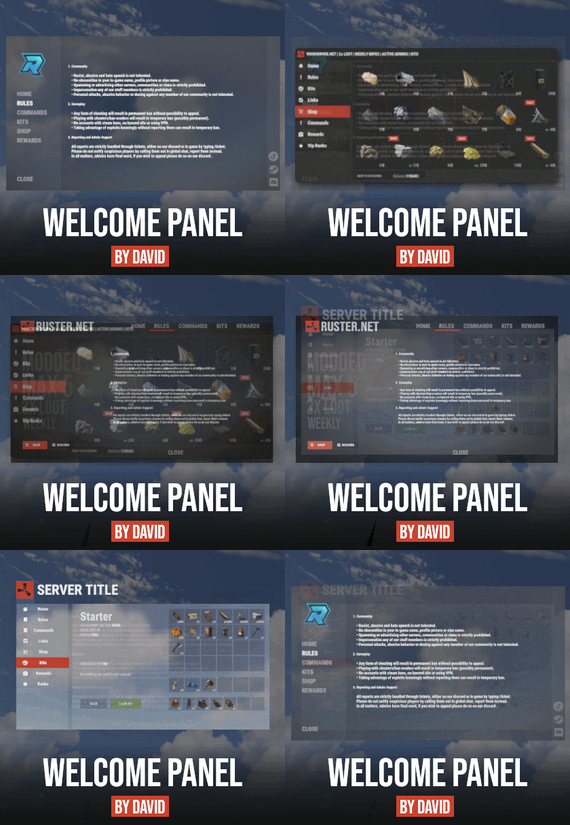
Screenshots bellow showcasing configurations created by customers. These are not available with the plugin but I decided to post them here since it's good demonstration of how customizable this plugin is.
BOOBLEJ
Tide
Neighigh
Paul
Leunal17
BOOBLEJ
How to start using plugin? Simply drop WelcomePanelLite.cs file into your plugin folder. After successfully loading plugin you can use default command /info in game. Configuration is handled in config file (oxide/config/WelcomePanelLite.json).
How hard is to get this plugin all set up? It's fairly simple. Plugin comes with default configuration which showcases everything you need to know regarding text, styling and changing images.
How hard it is to customize your own layout?
When it comes to changing color or images it's simple, any inexperienced user can do it however if you want to customize positions of UI or add extra tab buttons, it requires understanding of "ui anchors". Anchors are not that complicated but it takes hour or two to fully understand it. For more info check documentation.
Can I add multiple pages into WelcomePanel?
Yes, you can add unlimited amount of pages.
Can I add images into WelcomePanel?
Yes, you can add image to any panel and you can set background for each tab
What image sizes I should use?
This is different for each panel across different templates. Basically images parented to any panel are stretched to its size. Best approach is to take screenshot of the panel and try to fit image size into that prior to uploading it.
How to add addons?
Each text tab has addon option at bottom, just type in plugin name. List of available addons can be found at the top of the plugin description, listed as "Works with".
-
Discord Link
Discord Link is a very simple, performant, and feature-rich Discord and Rust linking system. 2 Simple steps and a player can link to Discord!
NO DISCORD.DLL!!
FEATURES
- NO DISCORD.DLL REQUIRED!!! - Link Rust and Discord accounts - Grant a role in discord and group in game for linked players - Soft unlinking (All past data on a user's account links will be forever stored) - 2 Way role syncing between rust to discord and discord to rust - Supports multi server linking - Booster perks for linked players boosting your discord - Steam to discord name syncing (Auto renames users in discord to their steam name) - Admin perms to unlink players - Search link commands in discord and in game to get who a player is linked to - Logs to discord when players link and unlink - Auto remove players from being linked when they leave the Discord - Syncing your old database files from steamcord, discord auth, or discord core PERMISSIONS
discordlinkbot.search - ability to search players and use the UI
The Plugin and Discord Bot both have very simple installations.
We have included a readme.md file to make it even easier to setup!
Need support or want updates about what is coming to the bot? Join the support discord here https://discord.gg/RVePam7pd7
This will require bot hosting to run the bot 24/7 since we do not use the Discord DLL therefore the server cannot host the bot.
Thanks to @shady14u for co-developing!!
-
Canvas
By Raul-Sorin Sorban in Plugins
Canvas provides your server a new way to allow your community to connect or play against eachother in an art pixel war. This is heavily inspired by r/place.
Features
Large canvases that players in your server can draw on Three different types of pixel group-based payments for fresh or overtaking fees Group-based cooldowns for placing pixels Zooming in and out / scrolling capabilities, or coordinate inputs Pixels are registered per players that overtook them Pixel age tracking Exporting to Imgur or PNG in super-size resolutions (API optimal) Next Update
Multi-selection support — for selective pixels exporting + API Custom empty-pixel background colors (dark/light mode or paper) Viewer settings — saved to file Timelapse support — record placed pixels + API Pixel notes — for any purchased pixels, you can leave notes More exporting options Roadmap
Load in the actual 2022-edition r/place datasets into Canvas Add image loader into the Canvas Add private canvases, multiple global canvas pages and showcase lists Integrate export Canvases onto signs (can already do it by exporting the Canvas to Imgur, and using SignArtist to place it on) Pixel notes Live feed of other players' selected pixels
API
byte [] ExportCanvas ( int scale = 25, int yOffset = 1, bool transparent = false, int blur = 0 ); // Exports PNG squared Canvas void UploadCanvasToImgur ( Action<string> onUpload, int scale = 25, int yOffset = 1, bool transparent = false, int blur = 0 ); void SetPixel ( int x, int y, string color, string note, ulong playerId ); // playerId can be 0 to anonymously set it void ClearPixel ( int x, int y ); void ApplyImage ( string url ); // Downloads and applies the pixels of an image - make sure it's the same resolution as the canvas byte [] ExportCanvas ( Canvas.Painting painting, int scale = 25, int yOffset = 1, bool transparent = false, int blur = 0 ); // Exports PNG squared Canvas void UploadCanvasToImgur ( Canvas.Painting painting, Action<string> onUpload, int scale = 25, int yOffset = 1, bool transparent = false, int blur = 0 ); void SetPixel ( Canvas.Painting painting, int x, int y, string color, string note, ulong playerId ); // playerId can be 0 to anonymously set it void ClearPixel ( Canvas.Painting painting, int x, int y ); void ApplyImage ( Canvas.Painting painting, string url ); // Downloads and applies the pixels of an image - make sure it's the same resolution as the canvas Configuration
Permissions
Canvas.use: To be able to call the /canvas and do any activity. Canvas.export: To be able to run the Export UI command and see the button on the Canvas. -
Dungeon Bases
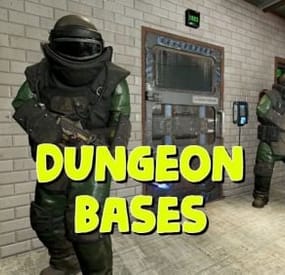
The plugin adds a dungeon event to your server. Dungeons are bases with puzzles, NPC defenders, turrets and more. You can create your own dungeons of varying difficulty
You can build your own bases or modify existing ones:
There are moving NPC guardians in the dungeons:
There are puzzles with protective doors in the dungeons:
In the dungeons there are secret notes with codes in boxes or on NPCs:
Commands:
dungbase_start - force start event
dungbase_start <entrance name> <dungeon name> <X> <Y> <Z> - force an event to start using the specified entrance and dungeon at coordinates X Y Z (you can also specify the name of the entrance or dungeon <random>)
example:
dungbase_start entrance1 dungeon1 122.3 5.2 872 dungbase_start random dungeon3 dungbase_stop - force stop event
dungbase_addblack <radius> - add a zone where dungeon spawning is not allowed
Hooks:
void DungeonBasesEventStarted() - // called when event starts
void DungeonBasesEventEnded() - // called when event ends
Configuration:
{ "Allow only the event owner (the one who entered the dungeon first) into the dungeon": true, "Allow owner's teammates to enter the dungeon": true, "Time before ownership is lost after leaving the server(in seconds)": 300, "Event marker on the map": true, "Event marker name": "Dungeon Base", "Event marker transparency(0-1)": 0.55, "Event marker radius": 0.5, "Event marker color.R(0-1)": 1.0, "Event marker color.G(0-1)": 0.0, "Event marker color.B(0-1)": 0.0, "Display event owner name on marker": true, "Display the time remaining until the end of the event on the marker": true, "Autostart event(disable if you want to trigger the event only manually)": true, "Calculate the time until the next event only after the previous one has finished": false, "Minimum time to event start(in seconds)": 3600, "Maximum time to event start(in seconds)": 7200, "Minimum event duration(in seconds)": 2000, "Maximum event duration(in seconds)": 3000, "Minimum number of online players to trigger an event": 1, "List of NPC names": [ "Dungeon NPC", "Dungeon Keeper", "Dungeon guard" ], "Dungeons list": [ "#dung#base1", "#dung#base2", "#dung#base3", "#dung#base4" ], "Entrances list": [ "#dung#entrance1", "#dung#entrance2", "#dung#entrance3", "#dung#entrance4" ], "Random order of choosing a dungeon from the list (if false, will be selected in turn)": true, "Random order of choosing the entrance to the dungeon from the list (if false, will be selected in turn)": true, "Change the time of day when entering the dungeon(from 0 to 23, if -1 - do not change the time)": 0.0, "How long before the end of the event does radiation start to affect players inside the dungeon": 180, "How long before the event ends will a warning message be displayed to players": 300, "How long after the event ends should the entrance be destroyed": 60, "Close the entrance and exit to the dungeon when the event time is over": true, "Will autoturrets attack NPCs": false, "Save event data (If true, the event will be saved and will continue even if you restart the server or plugin. Disable this if you get lag when saving)": true, "SteamID for chat message icon": 0 } Note: The plugin is guaranteed to work correctly with bases enabled. NPCs will not behave as standard, as they use different algorithms. Only one dungeon can spawn on the map at a time.


.thumb.png.e927ba0531404dd8aafe051874dcae0d.png)
