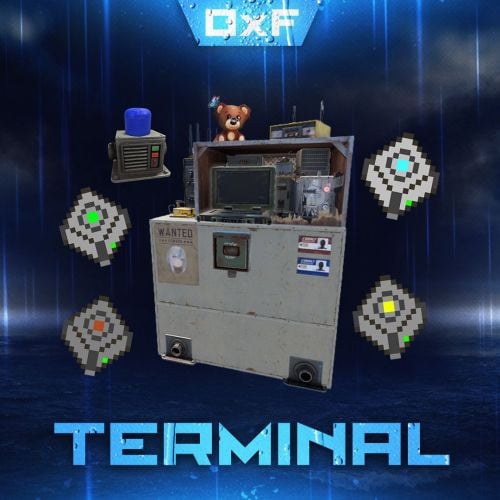
About Terminal
Terminal is an indispensable item that will allow players to manage the resources of the house in one place! Just as importantly, it is not just a conditional button on the screen or something similar, but a complete new item that is placed in the house, which gives a nice user experience to any player that likes interaction. Its multifunctionality will allow the player to use it for a variety of purposes, from simple resource management to building a terminal-only resource factory. Interested? Then let's get to the details.
Examples of uses:
- Getting remote access to resources, the ability to take resources from several storages at once, as well as put them in them.
- The ability to use the terminal as one big chest thanks to the cells of different levels, available import and export pipes will allow to realize the delivery of resources to the production tools
- Building a plant powered by terminal alone
- Many other clever uses, like a chest in the buffer of the house connected to the terminal.
- Combining uses
Features:
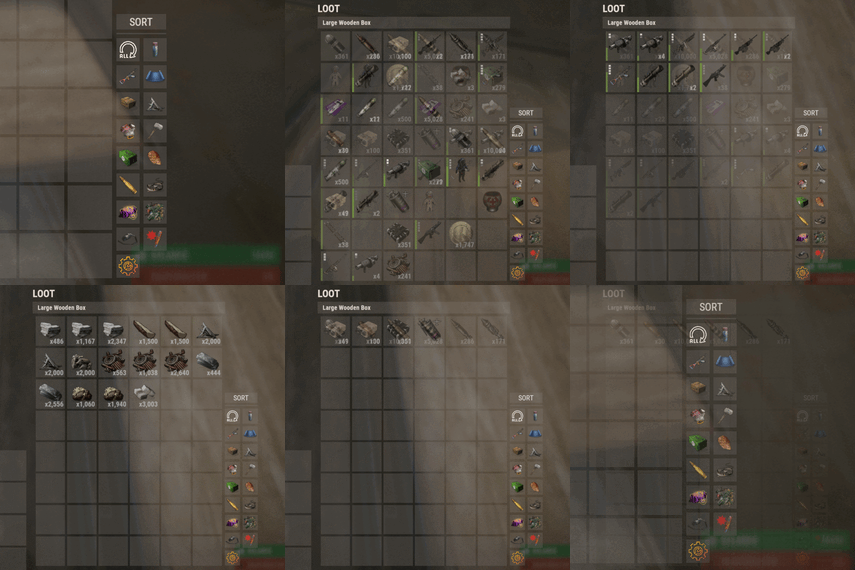
- Similar type items are displayed combined in one slot, where you can see the total quantity and take the required quantity.
- Two modes of operation: wireless and cellular.
- Full-featured new placeable item
- Works with industrial pipes
- Ability to create different cells (by standard there are 4 levels)
- Cells have their own stack size just for them.
- Intelligent movement that will not allow you to store more items in the boxes than allowed
- The terminal has a convenient search for items in the user's language, not only in English
Demo Video:
Installation instructions
-
Installing dependencies
-
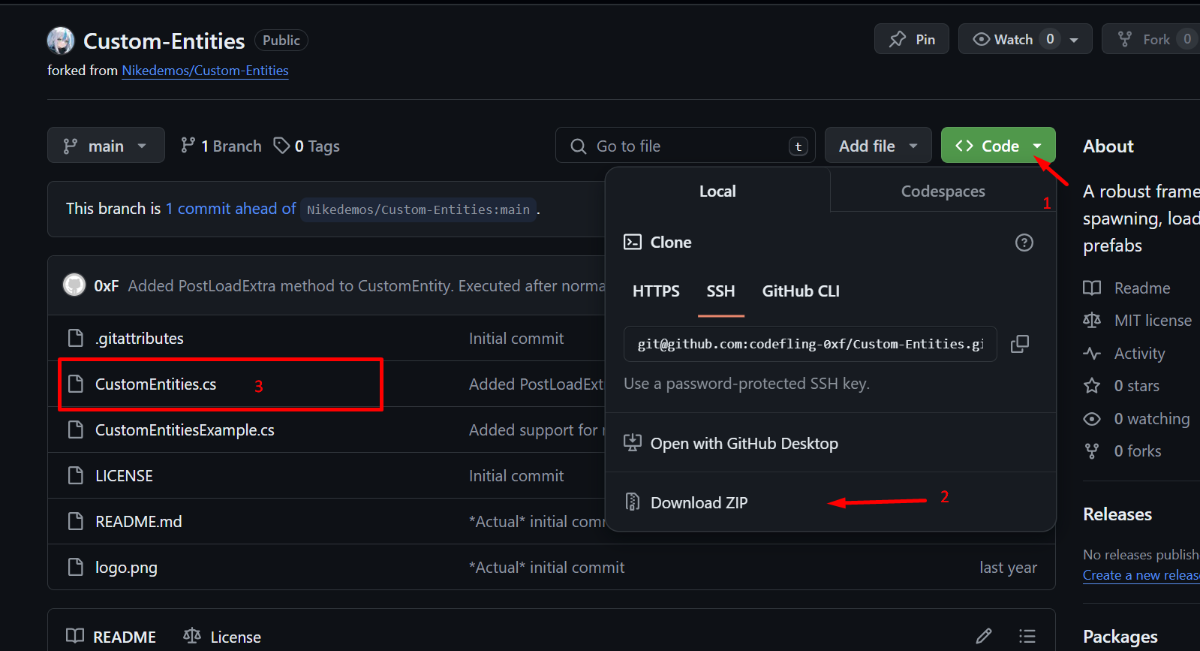
CustomEntities. Go to Github, click Clone -> Download ZIP, then transfer CustomEntities.cs to the folder with plugins.

- CustomItemDefinitions. Go here, download and install in the plugins folder.
- Download purchased this plugin and install it in the plugins folder the same way.
- Done
-
CustomEntities. Go to Github, click Clone -> Download ZIP, then transfer CustomEntities.cs to the folder with plugins.
Quick Start:
-
Prompt commands:
- give terminal
- give storage_cell.level1
- give storageadaptor.wireless
- Place terminal, put the cell in the cell storage, install the adapter on the chest, enjoy.
More about items:
[Terminal]
Terminal is a placeable item, with the ability to be placed both outside and in the house, serves for convenient management of all resources in the house. It has a certain amount of health (default 500), as well as the ability to pick up with a loss of strength. It has 2 modes of operation, wireless and cell, can work with industrial, by means of pipes to import and export items from cells.
The server owner can decide where to get this item from, it has its own short name and can be used in all plugins, the best option is to craft it.
The shortname of the item - terminal
Command to give:
give terminal
How to pick up a terminal?
For this we must have authorization in the cabinet.
Holding a mallet in your hand, point at the part of the terminal where the inscription Authorize appears, press the R button and select Turn.

How to switch modes of operation?
It is possible to do this by pressing the switch on the left side of the laptop, it looks like this:


What is needed to work in wireless mode?
To start working you need the item “Wireless Storage Adapter”, this item is part of the plugin. Can be obtained by any method of the server owner's choice.
The short name of the item - storageadapter.wireless.
Command to give out:
give storageadapter.wireless
Next, install the wireless storage adapter on the storage item you need. Such as: chests, furnaces, refineries, etc.
Next, select the wireless mode on the terminal by pressing the switch.
After entering the laptop, it will display all the items that are connected to the adapter in the range of the wireless mode of the terminal (customizable).
What is needed to work in the cell mode?
The first thing you need are the cells themselves, they can be obtained in any way the server owner chooses.
The short name of the item - storage_cell.{name from the config, by default it is level1-4}
Command to give out:
give storage_cell.level1
Cells should be put in the terminal cell storage, it looks like this:

It is recommended to put any kind of lock on the cell storage, otherwise they can be stolen!
Next, select the cell mode on the terminal by pressing the switch.
After entering the laptop, where you can now see what is in the cells, how many slots are available and you can put things there.
[Wireless Storage Adaptor]
Used for the wireless mode of the terminal. Installed on all storage items for which a regular storage adapter is available. Does not require additional connection.
The server owner can decide where to get this item from, it has its own short name and can be used in all plugins, the best option is to craft it.
The short name of the item - storageadapter.wireless.
Command to give out:
give storageadapter.wireless
[Storage Cells]
Cells hold items, have a certain number of slots and a maximum stack in each slot. These are special slots and only in them items can be stacked to their maximum. The maximum stack works on the principle of 1 type - 1 slot. That is, if the maximum stack is 5000 and the player puts there 10 new machine guns, they will occupy 1 slot and such can be put another 4990, if he puts a slightly broken machine gun, it will take another slot and will store the same machine guns. This is how it works with all items.
Another example; a level 1 cell has a maximum stack of 5000 and 8 slots, and if you store only sulfur in it, you can eventually store 40000 sulfur in it. Higher level cells have more stacks and slots.
Don't worry, the configured max stack won't be knocked down, items will unstack when they are laid down and taken out of the cell.
The server owner can decide where to get this item from, it has its own short name and can be used in all plugins, the best option is to craft it.
The short name of the item - storage_cell.{name from the config, by default it is level1-4}
Command to give out:
give storage_cell.level1






.thumb.jpg.e6f37a70b0c6594fa1761ed9cc51d870.jpg)





.gif.9100f5179d43e78cc27c910c5be0fcfb.thumb.gif.6abf1e55755513689bbbfd22efb6df6e.gif)
