depends on
Required files or plugins needed for this resource to work properly.
-
 Ember - donation system, bans, loading screen & landing/index page Required
 -
 Mercado Pago | De ahora en adelante, hacés más con tu dinero Required
About Mercado Pago Integration for Ember
Boost your online store with the MercadoPago Integration Module, a powerful solution designed to simplify and enhance payment processing. With this module, you can offer your customers a fast, secure, and user-friendly checkout experience while leveraging the benefits of MercadoPago’s trusted payment gateway.
![]()
✦ Seamless Integration – Connect MercadoPago effortlessly to your ember.
✦ Multiple Payment Methods – Accept credit/debit cards, MercadoPago balance, and more.
✦ Automatic Currency Conversion – Supports real-time exchange rate calculations for accurate pricing.
✦ Secure Transactions – Encrypted payments ensure the highest level of security.
✦ Customizable Checkout – Personalize your payment process to fit your brand.
✦ Instant Notifications – Get real-time updates on payment status.
✦ Optimized for Performance – Lightweight and efficient for smooth operation.
Why Choose Our Module?
✦ Easy Setup: Simple configuration with minimal effort required.
✦ Fully Documented & Supported: Includes setup guides and expert support.
Upgrade your store with MercadoPago Integration today and start processing payments with confidence!
![]()
Configuration

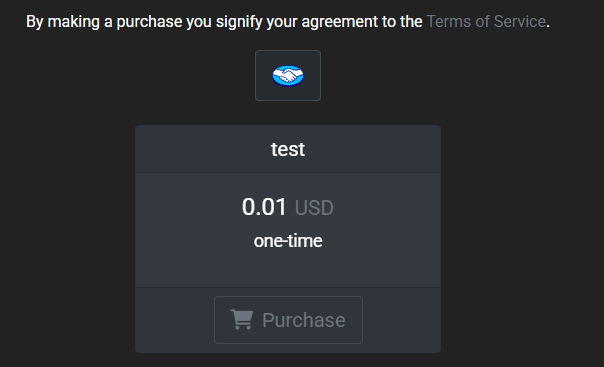
Test package
![]()
How to Apply the Custom Styles After Purchase
1. Go to your website and log in to your admin dashboard.
2. Navigate to Appearance Settings and Click on Admin → Appearance → Advanced.
3. Apply Custom CSS
4. Locate the Custom CSS section.
5. Open the file /resources/css/styles.css in your module directory.
6. Copy the entire CSS code from the file.
7. Paste the copied CSS into the Custom CSS section.
8. Save Changes
Once completed, your MercadoPago icons and styles will be correctly displayed on your site.
How to Generate Your MercadoPago API Key
Integrate MercadoPago seamlessly into your application by generating your API credentials. Follow this step-by-step guide to create your API key and start accepting payments securely.
Step 1: Log in to Your MercadoPago Account
1. Visit the MercadoPago Developers Portal: https://www.mercadopago.com
2. Click on Log In at the top-right corner.
3. Enter your account credentials and sign in.
Step 2: Access the Developer Dashboard
1. Once logged in, navigate to Your Name (or Business Name) → Your Business Information.
2. Click on Developers or go directly to https://www.mercadopago.com/developers.
Step 3: Create API Credentials
1. Locate the Credentials section.
2. Choose between Sandbox Mode (for testing) or Production Mode (for live transactions).
3. Click Create API Credentials to generate:
- Access Token: Used for secure backend transactions.
Step 4: Copy and Store Your Keys Securely
1. Copy the Access Token.
2. Store them in the configuration section of the module.
3. Never share your Access Token publicly.
Step 5: Configure Webhook Notifications
To receive automatic payment status updates, configure a Webhook Notification URL in your MercadoPago account.
1. Navigate to Developers → Webhooks & Notifications in your MercadoPago dashboard.
2. Click on Add New Webhook.
3. In the Webhook URL field, enter the Endpoint URL provided in the module configuration of your store.
- Example: https://yourstore.com/store/mercadopago/ipn
4. Choose the event types you want to receive notifications for (e.g., payment updates, chargebacks).
5. Click Save to apply the webhook configuration.
Step 6: Test Your Webhook Integration
1. Use Sandbox Mode to simulate a transaction.
2. Check if the webhook receives the correct payment status updates in your system.
3. If everything works correctly, switch to Production Mode. \
You're all set! Your MercadoPago API key is now ready, and webhook notifications will keep your system updated with real-time payment statuses.
For more details, check the official documentation: https://www.mercadopago.com/developers
If you need help, feel free to contact me via discord.