Search the Community
Showing results for tags 'languages'.
Found 2 results
-
Version 1.1.1
23 downloads
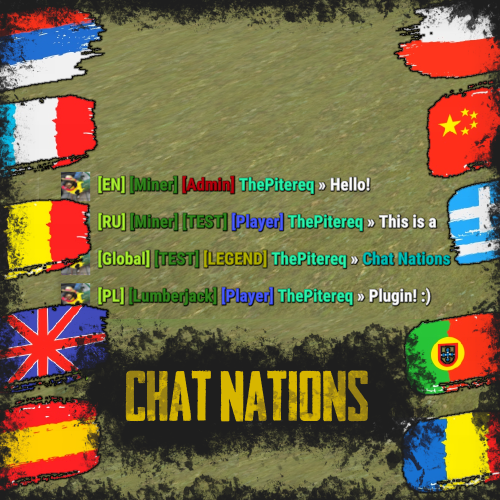
Chat Nations plugin is a big chat update for server's chat. You can configure different chats for each language, so other players doesn't need to read messages that they don't understand. It's also a good way to decrease spam on chat. Plugin also allows you for big player customization that contains rank, visible channels and with other plugins - clan display, visible titles, message and nickname color! Video Preview (Version 1.1.0) Features You can add any amount of channels to chat. You can customize channels that you want to see. First channel select based on player's country. You can select which rank do you want to display. Voice/Chat mute system. Custom prefix per player feature. (Require permission) Different chat message sizes based on permission. Highly customizable chat display. You can select a title from all of your titles. (Requires PlayerChallenges Plugin) Titles based on your game language. (Requires PlayerChallenges Plugin) You can change clan display on chat. (Requires Clans Plugin) Customizable nickname and message color. (Requires ColouredChat Plugin) Supports Ignore plugin. API for making plugin add-ons. Commands /ch - Chat channel selection. (Customizable) /chat - Chat customization. (Customizable) /cp - Custom prefix change command. /mute <chat/voice/both> <PlayerNameOrId> [TimeInSeconds] - Mute player on chat. /unmute <PlayerNameOrId> - Unmute player on chat. Permissions chatnations.mute - Allows using /mute and /unmute command. chatnations.customprefix - Allows using /cp command. Supported Plugins Informations Plugin supports for now 4 plugins: Clans, Ignore, PlayerChallenges and ColouredChat More plugins will be added soon! WARNING! This plugin doesn't work with BetterChat! PlayerChallenges To make plugin works correctly in ChatNations config in section "PlayerChallenges Title Names" you need to add the same values that are in PlayerChallenges config in "Title for name tag", set "Maximum tags to display (Requires BetterChat)" to 30 and "Format of tags displayed (Requires BetterChat)" to "[{TAG}]". Without editing that, titles might not work correctly. It is caused by no API in PlayerChallenges plugin. Sorry! ColouredChat In this case, plugin will work in most functions except gradient nickname. To make it work, you need to add in ColouredChat.cs file: if (isCalledOnto) Interface.CallHook("API_SetGradientNickname", target, ""); else Interface.CallHook("API_SetGradientNickname", player, ""); After 798 line. (After if (cachedData.ContainsKey(key)) cachedData.Remove(key);) if (!isMessage) Interface.CallHook("API_SetGradientNickname", iPlayer, gradientName); After 908 line. (After for loop bracket) It is caused by missing API for gradient display name. Sorry! API for Developers Dictionary<string, int> API_GetPlayersInChannels() - Returns Dictionary<string, int> with channel code as Key and online player count as Value. List<ulong> API_GetChannelPlayers(string channel) - Returns list of playerIds from channel. void OnNationsChat(BasePlayer player, string message, Chat.ChatChannel channel, string internalChannel) - Action called after successful message sent by player. If you need anything more, message me! Default Config (Version 1.1.0)$15.00 -
Version 1.0.2
14 downloads
AI Translation plugin is the best powered-AI translation solution for Rust Servers. Enjoy the power of AI by automatically translating all your language files, or the messages exchanged by players in the chat! ALL languages, without exception, are accepted. !! Important: The plugin requires the use of OpenAI's API, which includes fees for each request (see the dedicated section for more details) !! Free Version : A free version (but limited) is available. Easy to Use with Minimal Configuration There is almost no setup required; everything is straightforward to handle. Open AI & Request Costs You need to register for the OpenAI API to retrieve a token. Signing up and getting the token is very simple and takes just a few seconds. Translating language files will only cost a few cents for about a hundred files. It's difficult to quantify the cost of translating chat; expect around $1 for thousands of translated messages (this is a purely theoretical value). Something to consider if your language files are long: It is possible that some files may arrive incomplete. To solve this issue, you need to increase the token limit of your model (in the configuration). The limit depends on the OpenAI model used, but generally, you can go up to 4096. More information on tokens can be found here. Support Available I am available for all your questions, whether it's support here or on Discord (d.0ne_) More information at the bottom of the page. Commands ait.translateplugin <plugin> <lang1> <lang2>: Requires the plugin to have a default language file (in English). Specify all desired languages in ISO639-1 format. Example: "ait.translateplugin MyPlugin fr ru" ait.translateallplugins <lang1> <lang2>: Operates the same way but will do so for all plugins. Permission aitranslationpro.chat.use: permission that allows users to see the translation in the chat OPEN AI API Registration (2mn): 1 - Visit the OpenAI Website: Go to OpenAI's official website. Click on the "API" section in the navigation menu. 2 - Create an Account: If you don’t already have an OpenAI account, you will need to create one. Click on the "Sign Up" button. Fill in your details such as email, name, and password. Follow any additional prompts to complete the registration process. 3 - Verify Your Email: Check your email for a verification link from OpenAI. Click on the link to verify your email address. 4 - Log in to Your OpenAI Account: Once your email is verified, log in to your OpenAI account. Navigate back to the API section. 5 - Apply for API Access: Depending on OpenAI's current policies, you might need to apply for API access. Fill out any required forms or surveys. Submit your application. 6 - Access the API Dashboard: Once approved, you can access the API dashboard. This dashboard is where you can manage your API usage. 7 - Generate an API Token: In the API dashboard, look for an option to create a new API token. Click on "Create Token" or a similar button. Follow the prompts to generate a new token. 8 - Secure Your Token: Once your token is generated, make sure to copy it and store it securely. Never share your API token publicly as it gives access to your OpenAI account.$9.98